Robin Zielhorst’s 5 String Fretless
Robin Zielhorst is the bass player for the band Cynic. Here are some photos of the making his custom 5-string fretless Wyn bass.


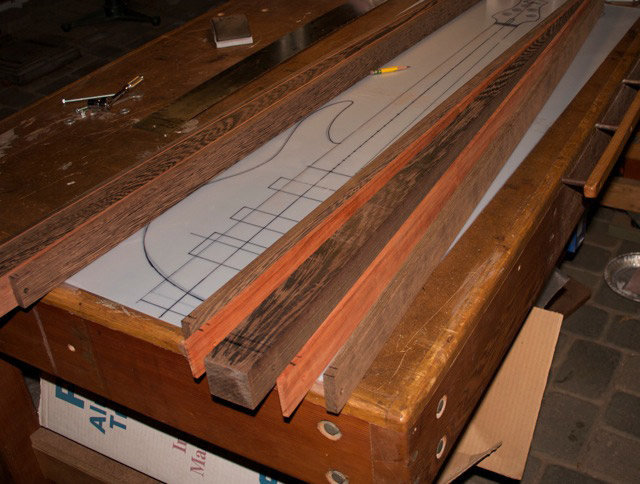
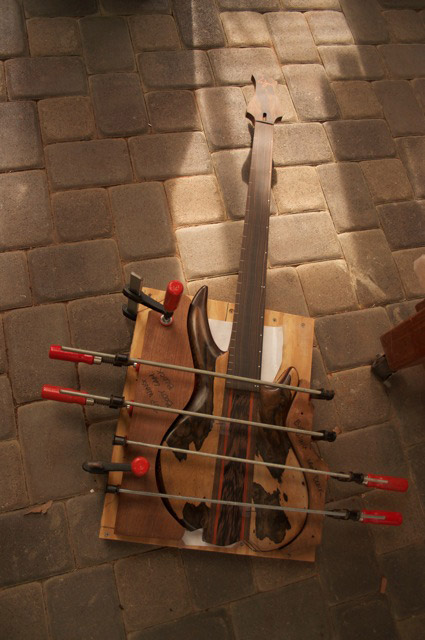
This is the start of Robin Zeilhorst’s 5-string fretless bass. It was a very complicated bass to make for a number of reasons that I’ll get into as we go along. I will never forgive Robin for putting me through this. He’s a very nice guy and I like him, but I’m going to have to some how punish him for a very long time!!!!
click image to enlarge
Yes yes yes, I sure do use a lot of glue don’t I? Apparently I own some stock in the Tight Bond Glue Company.

click image to enlarge
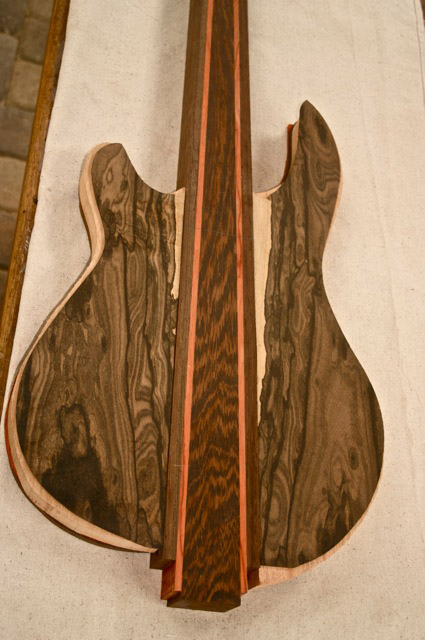
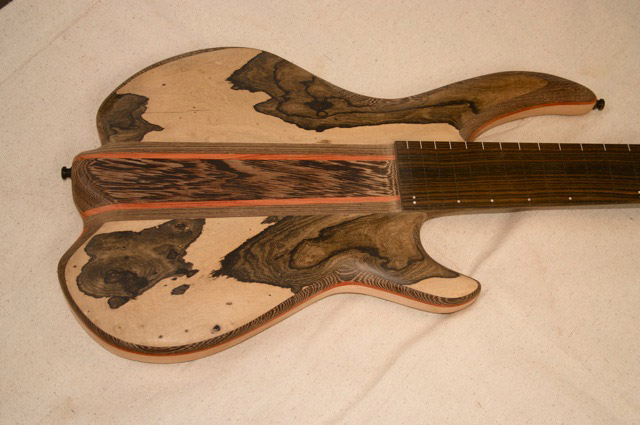
The body top is out of the wildest Ziricote I’ve ever seen. At this point I have stacked the layers of the body wings but they’re not yet glued together. The Padouk stripes in the neck will be a nice colorful accent to the mainly black and white Ziricote and Wenge.

click image to enlarge
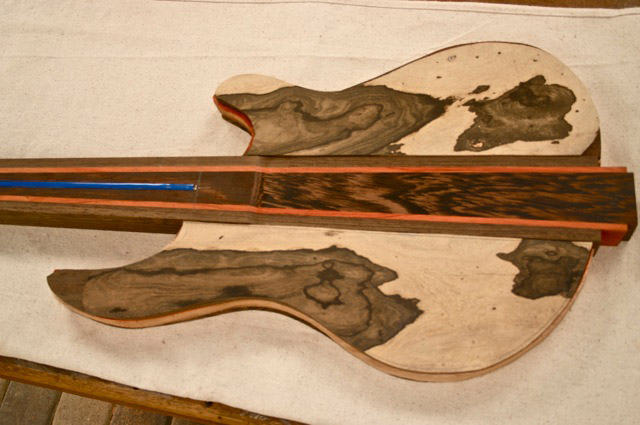
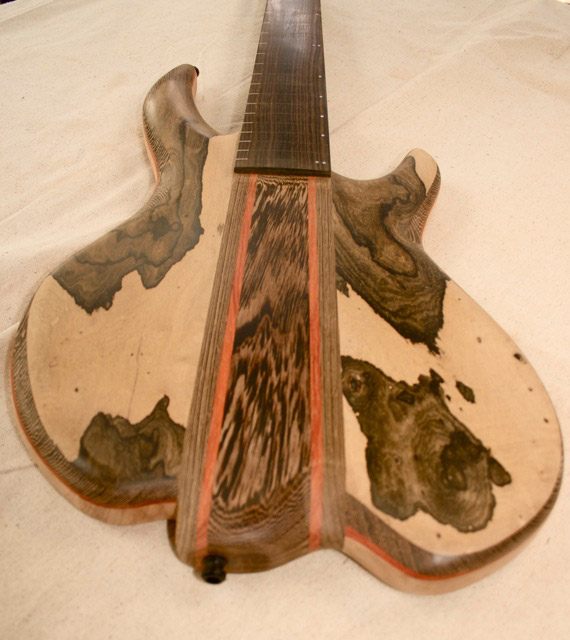
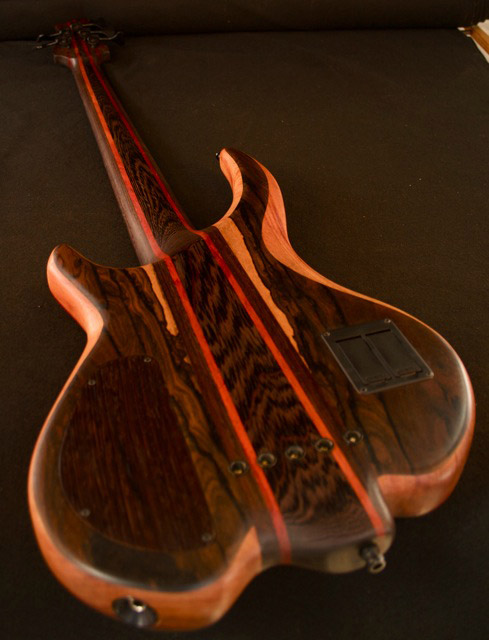
The reverse side of the guitar with a Ziricote back. Ziricote comes from Mexico and Central America and grows like no other wood I know of. The grain resembles an art nouveau cloud illustration. I can’t make any sense of how the tree grew to produce these swirling patterns. Ziricote is extremely hard and produces a clear bell like tone.
click image to enlarge
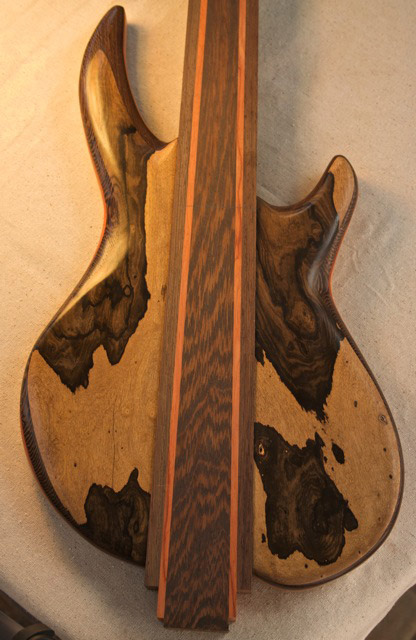
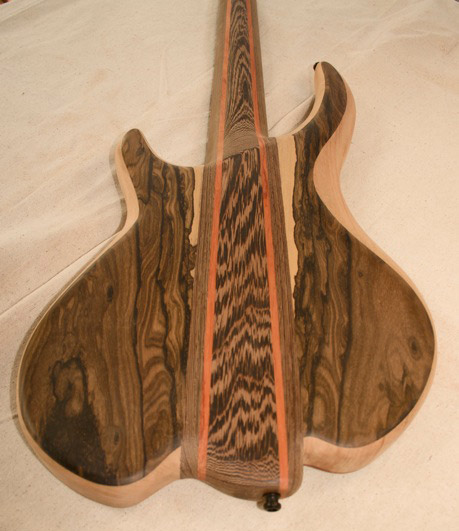
The layers have now been glued together and the body is ready to shape. Notice on the top upper horn that the Ziricote doesn’t completely cover. That’s because there is a Wenge tone layer right underneath it that I plan to reveal with the carving. The edge grain on Wenge will add a nice graphic contrast to the Ziricote.
click image to enlarge
At this point I have shaped and buffed the wings to start to get an idea of how it will look when finished. The wings are still not glued to the neck. I go as far as I can in shaping the wings before gluing to the neck because there is such easy access to the wings when they’re separate. Once the neck is glued on, you have to navigate around it when shaping. Not impossible, but certainly a lot more work.
click image to enlarge
Here I have a custom jig for gluing the wings to the neck. The clamping shape to the right is bolted to the jig but slides in slots. That way it won’t flip off of the guitar when tension is introduced but will still slide so that I can tighten the wings against the neck while gluing. You’re also starting to see some of the inlay work on the fretless finger board. This was all Robin’s idea!!!
click image to enlarge
Actually what we have going on here is that I have cut slots for each fret marker across the Macassar Ebony board. But rather than have white line inlays going all the way across, Robin wanted white just under the B string and then mother of pearl markers under the G string. I ended up putting white plastic, then black dyed wood, then mother of pearl markers so that I knew everything was in perfect alignment. Also you can see on this photograph how nice the Wenge layer looks against the Ziricote. On the lower edge you pick up that great textural striping that is one of the hallmarks of Wenge.
click image to enlarge
To coordinate with the Padouk striping of the neck, we chose Padouk for the Wyn laser cut inlay.

click image to enlarge
Some additional shaping at the base to accentuate the wild grain. Here you can also see that this bass has five body layers. The Ziricote top is followed by Wenge, then an orange Padouk accent stripe, African mahogany for the body core and then Ziricote on the back.
click image to enlarge
The back and neck are now fully shaped as well.
click image to enlarge
The lighter middle layer connects so nicely with the light portions of the Ziricote next to the neck. I’d like to take credit for that, but that’s just one of those happy accidents you get when you work with such stunning wood combinations.

click image to enlarge
As you look at the electronics, you can see that we not only have my typical 6-knob configuration, but an additional switch and knob. This is because Robin requested a piezo bridge saddle pick up as well. So we have a full mag pickup set up, a full piezo set up, and an ability to blend the two together in any proportion desired. Quite a lot of work for my dinosaur brain to absorb, but it actually worked the first time I plugged it in. There are two independent pre-amps in this guitar that work in conjunction with each other. When you open the electronics cavity, it sort of resembles a 12 cylinder BMW.

click image to enlarge
Due to the two pre-amps, I installed 18 volts worth of batteries in a separate battery box. But because Robin had requested a very slim guitar profile, there was no where to locate the battery box on the lower wing. So I located it on the upper wing and routed the wiring through the pickup cut outs. Also this bass has the string through body option to tighten up the low B and to get more sustain and wood resonance. Even though that Robin guy really pushed me on this one, I learned a great deal and am very pleased, as is Robin, with the way it turned out.
click image to enlarge