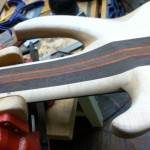
In Progress: March 2014
The list is growing with customers that I’m building basses for in 2014 as well as potential 2015 customers that want to update on the 2014 progress. What I have concentrated on since the last update on necks was to shift to my full focus on the first six basses on the 2014 list. It’s actually grown to eight, but who’s counting? I often like to get to some major milestone before I do an update, but there is a flow going on and there is just no point where all basses are at the same stage.
This update is intended to give the flavor of the variety of things I’m doing as I attempt to finalize the first six basses before jumping onto the next six. (or seven or eight. Every time I seem to make a rule, I break it) Last year I pretty much built 27 basses all at the same time. Madness I tell you!! They all got done, but it felt like everything was going way too slow. This time, I will concentrate on smaller groups, finish, ship, and go to the next group. It already feels better to me in that I have more of a variety and more of a feeling of progress and completion.
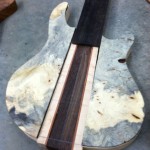
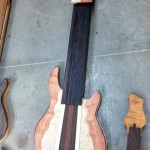
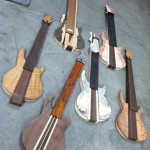
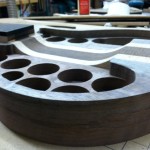
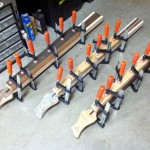
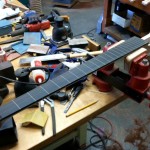
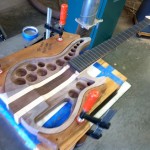
This first photo looks like it’s far along, but other than the top Koa bass, all the others have bodies of unglued sandwiches. I have just cut out the layers and set them with the floor with the necks, and fret board and headstock blocks to start to give the eventual feeling of each bass.
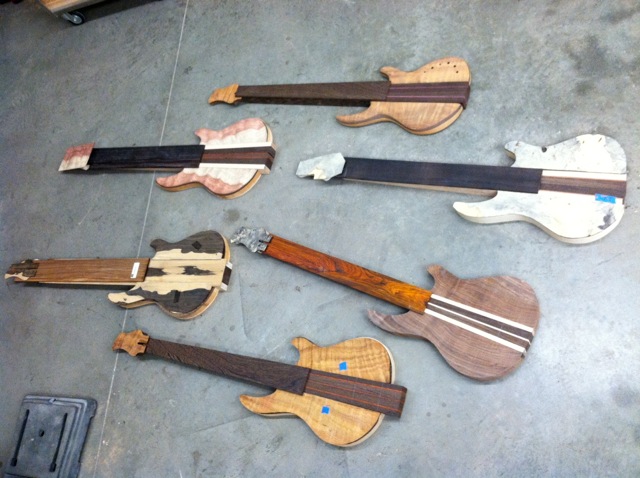
- Buckeye Burl Top, Ebony fretboard. Don’t worry about that knot hole on the right. It will be carved away when I shape the bass.
- Heart and Sap Bubinga, Ebony fretboard (this one will be my first 8 string)
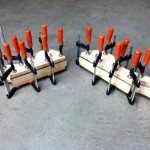
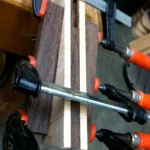
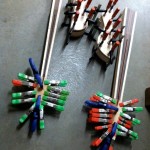
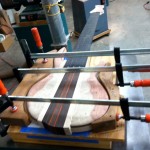
- Gluing and clamping the wing sandwiches. There is a clamping slab of wood on the top and bottom for firm even pressure. Don’t those red Bessey clamp handles photograph nicely??
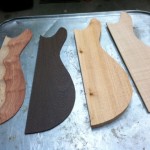
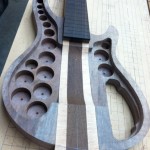
- Here’s a Bubinga top, Wenge tone layer, Spanish Cedar core, and Flamed Maple back, ready to go. Kinda looks like they’re on a cookie tray ready to slide into the oven.
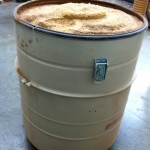
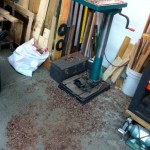
- A 55 gallon drum of sawdust!!! I empty this can about once a month. Very very very very happy to have a giant vacuum system!!
- See, it looks like nothing has happened, but in actuality, a number of wings have been laminated and trimmed at this point.
- To take a quick step back, this photo is one of laminating on the headstock wings.
- Here is a Chambered bass I’m working on separate from the list. This will be a fretless with the intention of sounding as much as possible like an upright bass.
- I will install black plastic wrapped flat wounds on this bass as well as a mag pickup with a piezo bridge pickup.
- The chambering will give it a more acoustic tone. I will eventually inlay white lines into the fretboard for reference.
- When people come by for a tour, I seem to straighten up, vacuum, and pretend that “I always keep it this clean.” This is what it looks like after a bit of chambering with no tours scheduled!! (An honest moment from Randy. I’ll try to limit these, I seem to believe I have an image to maintain that requires a great deal of deception!!!)
- Quilt Maple full top for the Chambered Fretless being fitted. It’s tricky because it has to go perfectly around the neck and fretboard without any gaps!!
- Laminating fretboards to the necks. As you can see, they go over the top of the head stock plate. I laminate the fretboards before I’ve done any shaping on the neck so I have a good square neck to clamp to.
- Shaping another neck. This one is Wenge with Purple Heart stripes. The Wenge is beautiful when done, but there is some sort of silica content in the wood (that’s what I read anyway) where by it really dulls tools fast. I know that part to be true for sure!!
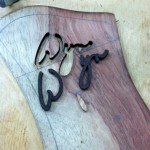
- Here is the head stock for the 8 string. I had just gotten it back from the laser cutter. I sent her a flat of Wenge for contrasting letters. She has cut out the letters and the headstock with Wyn cut out of it. It’s a perfect puzzle.
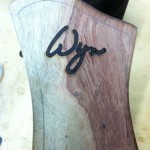
- I then go about laminating the letters into the headstock cap and sand it flush before laminating it onto the headstock.
- Clamping of the headstock cap onto the headstock. Is there anyone who doubts my commitment to keeping the clamping industry going??
- Guess what?? More clamping!!
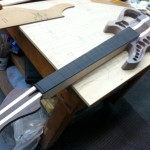
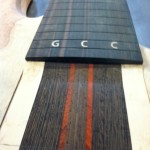
- Here I have just inlaid the edge markers into the edge of the fretboard. Hard to tell, since it’s a Wenge fretboard on a Wenge neck, but there’s a fretboard there. This happens to be the Luminlay markers that glow in the dark. When they’re in the light, they just look like white inlays. On a dark stage, they glow a greenish white light that’s rather amazing. For anyone that hasn’t ordered a bass as yet, it’s an up charge of $25.00 for the Luminlay markers (my cost for the material.) If you want regular white markers, there’s no up charge for that.
- Here is the fretless fretboard with the white lines inlaid into the fretboard.
- The neck ready to laminate to the wings. I not only use glue here that has 3500 pounds per square inch of strength, but I use these super strong disk biscuits that go into the neck and into the wings as well. It makes the joint extremely strong and helps with alignment when I glue the wings to the neck. You’re just not going to have to worry about playing a big gig in front of millions and having the body wings fall off the neck. It’s just not gonna happen!!
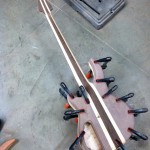
- Ready to glue the wings to the neck in my patented clamping jig. (okay, it’s not really patented, but I made it!!!)
- I shape the wings before gluing them to the neck. It makes it much easier to shape each wing when I’m not contending with the full size and shape of the guitar.
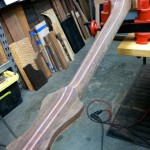
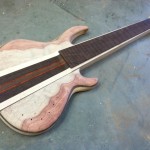
- 8-String from the back. Body wings shaped, neck still a block.
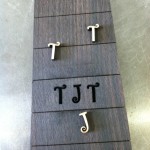
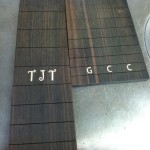
- Laser-cut initial letters and fretboard, ready for inlaying. You gotta know I was sweating getting that curly-cued “J” into the board without breaking it, but it went fine!! What was I worried about??
- I inlay the letters when the fretboard is still flat. Later after the board is laminated to the neck, I will radius sand the board and of course the letters will be sanded to match the radius at the time.
- In this photo, I’m gluing the full top onto the body. When I do a full top, the top goes on after the wings have been laminated to the neck.
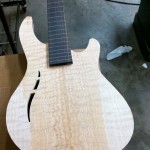
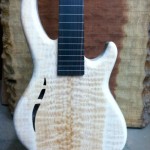
- And here is the top, fastened to the bass body. I have, as you see, also cut a modern f hole to see if we can coax some acoustic tone from this chambered bass!!
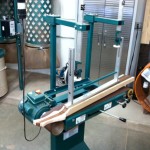
- Here is the coolest machine I own!!! It’s a reproduction of a machine designed for Leo Fender back in the day to radius the fretboards. The aluminum part is a free swinging arm. I can set pivot points to achieve a compound radius. Basically the front pivot point, (near the head stock) is at a 12″ distance. The back one is 18″. So you swing the neck back and forth as you gradually lower the fretboard into the long sanding belt. As you rock the fretboard back and forth, it sands a perfect 12 to 18 compound radius on the fretboard that is absolutely perfect and straight. When I first started, I did this step by hand. It took me two hours per fretboard and I didn’t do it all that well. It now takes 5 minutes and it’s perfect every time!!!!! And being perfect makes the fretting go better, the set up go better, and your playability and lower action will all be better. All bow down to Leo Fender!!!! Quite a mechanical genius that guy!!
- Here’s a shot of the initials and the fretboard with its radius.
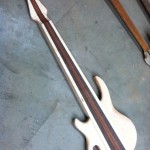
- Here’s what a roughed out 8-string neck looks like!!
- Gluing the neck to the wings. Have to do this step on every one of them!!
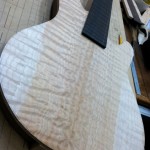
- On a full top, I have to shape the top after it’s laminated to the wings and neck. It all gets done, just a different order to things. The quilt on this wood has no finish on it yet. You’re seeing it dry. It’s going to really pop when the finish is applied! I live for moments like that!!
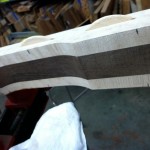
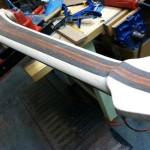
- I shape the transition of the neck to the body after it’s all glued together. This bass will be pretty effortless to reach to the 24th fret.
